
If Windows 11 shows “An error occurred while loading the troubleshooter,” the built-in diagnostic tool cannot start properly. That usually points to a damaged system file, a broken Windows component, or a settings issue that is preventing the troubleshooter from opening.
The fixes below start with the simplest checks and move toward more thorough repairs. Try them in order until the troubleshooter opens normally again.

1. Run the Windows Update troubleshooter from Settings
Some built-in troubleshooters fail only when launched from a shortcut or older Control Panel path. Starting from the Settings app can bypass that issue and confirm whether the problem is limited to one entry point.
- Open Settings and go to System.
- Select Troubleshoot, then Other troubleshooters.
- Find the troubleshooter you want to run and select Run.
- If the error appears there too, move on to the next fix.
2. Restart the services that troubleshooters depend on
Windows troubleshooters rely on background services. If one of those services is stopped, disabled, or stuck, the troubleshooter may fail to load instead of showing the usual diagnostic prompts.
- Press Windows + R, type services.msc, and press Enter.
- Look for services such as Diagnostic Policy Service and Diagnostic Service Host.
- If a service is stopped, right-click it and choose Start.
- If it is already running, right-click it and choose Restart.
- Set the startup type to Automatic if Windows is not starting it on its own.
3. Repair Windows system files
Corrupted Windows files are one of the most common reasons built-in tools stop working. System File Checker and DISM can repair missing or damaged files that the troubleshooter depends on.
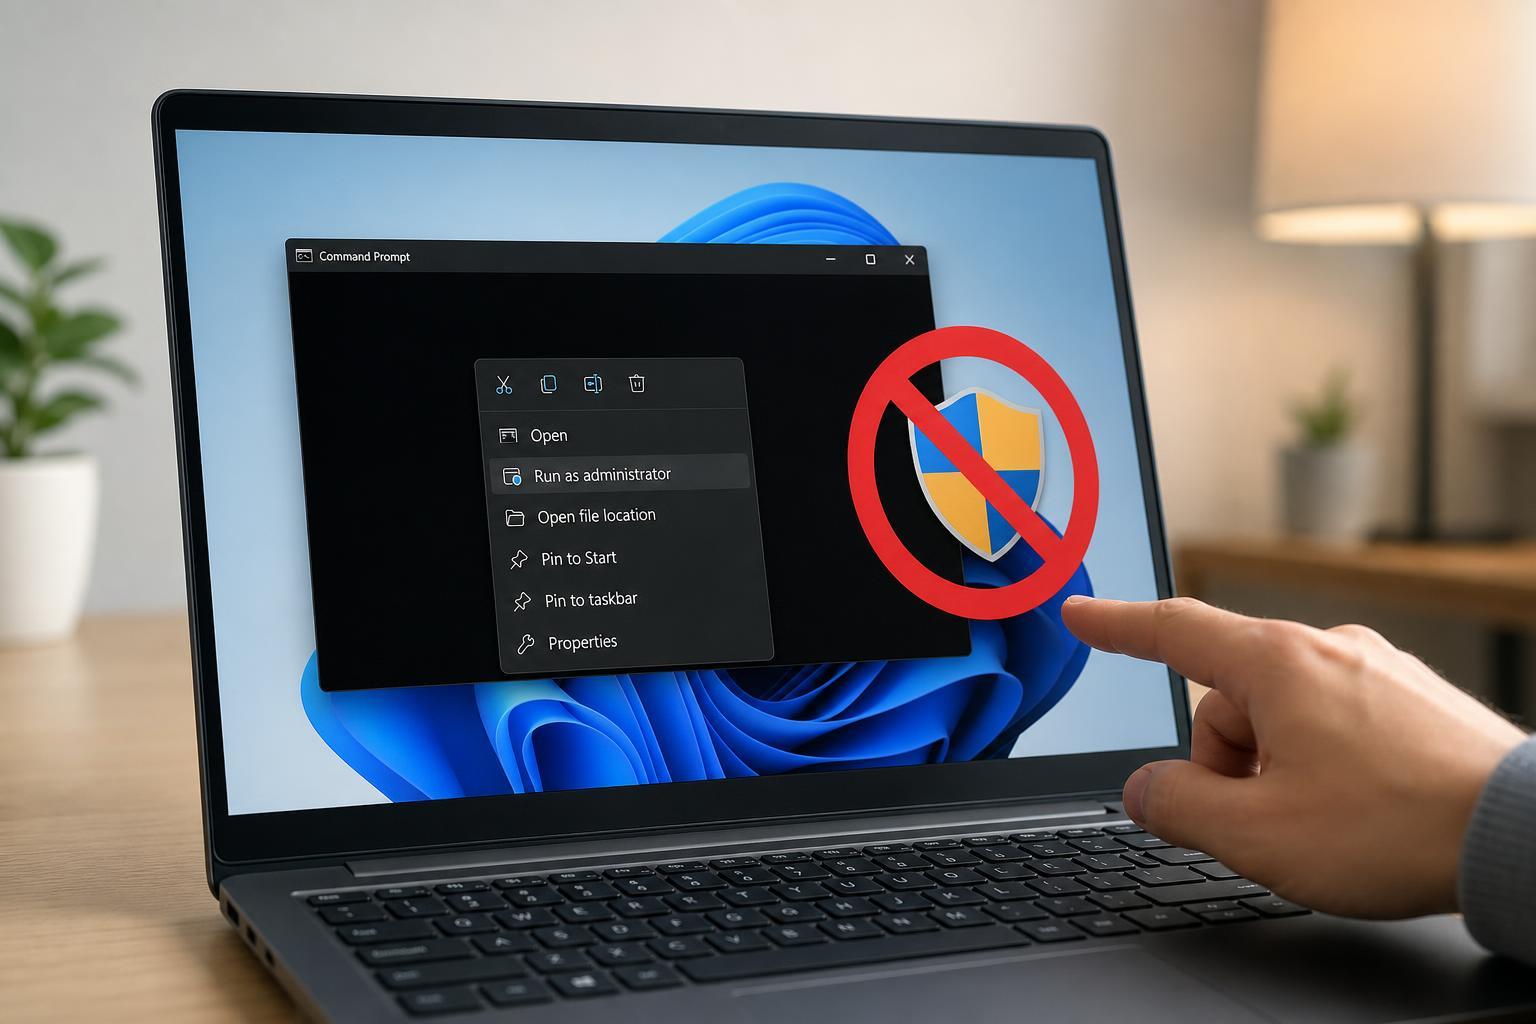
- Open Terminal or Command Prompt as an administrator.
- Run: sfc /scannow
- Wait for the scan to finish and follow any repair messages.
- If problems remain, run: DISM /Online /Cleanup-Image /RestoreHealth
- Restart the PC after the repair completes, then try the troubleshooter again.
4. Reset the Troubleshooter cache and related Windows components
If the troubleshooter configuration or cache is corrupted, Windows may fail before the tool even opens. Resetting the related components can clear that broken state.
- Open Settings and check for pending Windows updates.
- Install any available updates and restart if prompted.
- Try the troubleshooter again after the update finishes.
- If the error continues, run Windows Update troubleshooter-related repair steps by using an administrator command window and repairing system files again if needed.
5. Create a new Windows user profile or use System Restore
If the issue only happens in one user account, the profile itself may be damaged. A fresh account can show whether the problem is tied to your Windows installation or just your current profile. If the problem began recently, System Restore can also roll back the change that caused it.
- Create a new local user account in Settings and sign in to it.
- Try opening the same troubleshooter from the new account.
- If it works there, your original profile is likely corrupted.
- If the problem started recently and restore points are available, use System Restore to return Windows to a state before the error began.
How to narrow down the cause
A few clues can help you choose the right fix faster. If every troubleshooter fails, the issue is probably system-wide. If only one troubleshooter fails, the problem may be isolated to that specific Windows component. If a new account works, the original user profile is the likely cause.
- All troubleshooters fail: focus on services and system file repair.
- Only one troubleshooter fails: the component for that tool may be damaged.
- Works in a new account: your user profile is probably corrupted.
- Started after an update or app install: try the most recent change first.
What to do if nothing works
If the error still appears after these fixes, Windows itself may need a deeper repair. At that point, an in-place repair install is usually the best next step because it can replace damaged Windows components without wiping your files and apps.
 WINDOWS
 WINDOWS
 WINDOWS